This article may contain instructional language and subjective recommendations. Readers should read the content carefully, and follow accordingly.
This is a guide for anyone who has just bought Don't Starve and/or the DLC Don't Starve: Shipwrecked. I will detail how to best set up camp in the game, according to my experience. Please note that this is just my preferred way of starting out each game and player preference will vary by individual.
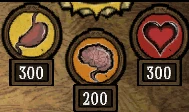
Before getting started, it is critical for new players to be aware of three stats that will determine their survival in the game. These stats must be constantly watched and attended to.
Example of stats draining.
Hunger: Identified by a yellow stomach icon. As your Hunger grows, the yellow drains and the stomach shrivels. Your character will warn you when their Hunger is getting low. The more your Hunger drops, the more your Health and Sanity drop.
Health: Identified by a red heart icon. As your Health drains, the red drains. Although the most common form of Health drain is damage caused by Mobs or natural factors such as Fire and Lightning, your Hunger will also have an effect on your Health.
Sanity: Identified by an orange brain icon. As your Sanity drains, the orange drains and the brain shrivels. Various things may cause your character to lose their Sanity: standing by Evil Flowers, fighting Mobs, eating raw Meat, killing animals, etc. But the primary drain is Dusk and especially Night. As soon as Dusk falls Sanity begins to fall, continuing throughout the Night. As your Sanity lowers, creepy whispering voices will become louder and louder and Shadow Creatures will become less and less transparent. When your Sanity has drained to a certain degree, the Shadow Creatures start chasing and attacking you. Your character will sometimes warn you if their Sanity has been drained, such as after they go through a Worm Hole (depending on the character). The best way to keep up Sanity is to pick Flowers.
Day/Night Cycle[]
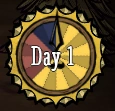
Day/Night Cycle icon.
The Day/Night Cycle of Don't Starve is a constant factor. It acts as a sort of clock, running through three cycles: Day (yellow section), Dusk (red section), and Night (blue section). There is an icon on the top right-hand corner of the screen with an arrow that rotates clockwise. You will need to keep track of the time of day, especially how close it is to Night. During the Summer the Day is longer and the Night is shorter, while during Winter the Night is longer and the Day is shorter. When it becomes Dusk, it will get darker and your Sanity will start to go drain slowly. When Night arrives it becomes completely pitch black (unless you have a light source) and Sanity starts to drain faster. When it becomes Day, it will get light and your Sanity will start to increase. If you do not have a light source when Night arrives, Charlie will attack you and kill you in two hits.
Exploration Stage[]
"I started a new game. What now?"[]
You will start out in Summer, so resources will be abundant. Your initial concern should be gathering materials to make a Campfire. Walk around for a bit, gathering materials as you go. The best place to collect materials, especially food that can be easily harvested, such as Berries, Carrots, and Seeds, is in the Grasslands biome. Players will automatically spawn in this biome at the start of every new game. Look for Flint, Saplings, and Grass Tufts. In the Grasslands biome, Flint should be lying on the ground and does not need to be mined. Saplings are harvested for their Twigs. Craft an Axe using one Flint and one Twig by clicking on the Tools Tab in the Crafting menu on the left hand side of the screen. You can equip and unequip items in the three equip slots located at the end of your Inventory.
"I have an Axe. What now?"[]
Once you have an Axe, find some Trees and begin chopping. With each chop, you will notice the Durability of your Axe going down. Be sure to keep Flint and Twigs well-stocked to make new Tools once old ones wear out. Fully grown Trees will typically give 3 Logs while smaller trees will give 1 or 2 Logs. You can also get Pine Cones from Trees. These can be used as fuel for your Campfire for now and can be planted to grow more Trees in the future.
Collect Cut Grass from Grass Tufts as you go to help make your Campfire. The Campfire requires 2 Logs and 3 Cut Grass to make, and after it is made you will also need fuel to keep it lit. Logs, Cut Grass, Pine Cones, Twigs, Petals, Manure, and Mushrooms can all be used as fuel. Since Nights during the Summer don't last long, you will not need to add much fuel to your fire to keep it lit throughout the Night. One disadvantage of a Campfire is that it cannot be reused once it goes out, so you must keep a good supply of Logs and Cut Grass to make a new campfire every Night. It is important to verify as Night approaches that you have sufficient supplies to make a Campfire.
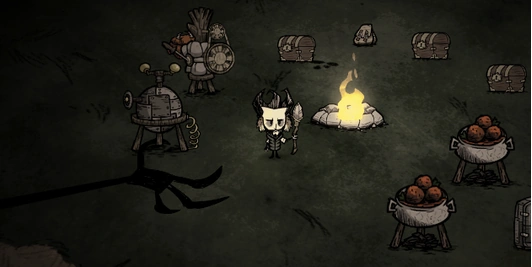
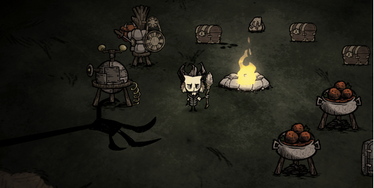
Wilson by a Campfire at Night.
When Dusk is almost at an end, you need to start making your Campfire. To make a Campfire, locate the Light Tab on your Crafting menu and find the Campfire option. Find a location to put the Campfire and place it. Note that in order to place the Campfire, you must locate a bare stretch of ground away from your character. Try not to make the Campfire too near flammable objects, such as Trees, Bushes, Grass Tufts, and Saplings or you may end up accidentally setting them on fire and taking damage.
"I made a Campfire. What now?"[]
You will notice after night falls that it is completely pitch black around you. Do not leave the safety of your fire. You must remain close to your light source to retain your Sanity. This is a good time to cook the food you have gathered. Select the food in your Inventory and click on the fire to cook it. Cooked food is fills your Hunger meter significantly more than raw food does and some raw food, especially meats, can drain your Sanity and Health when eaten as is. Make sure you keep your fire stoked to stop it from going out.
When morning arrives start exploring the world. You can check your Map by clicking the icon in the lower right-hand corner of the screen. The Map will also display your location, various resources, and, once you make it, your camp.
Collect resources as you go. You will be scouting for certain biomes and a prime location for creating your base camp. Try to find these 3 elements:
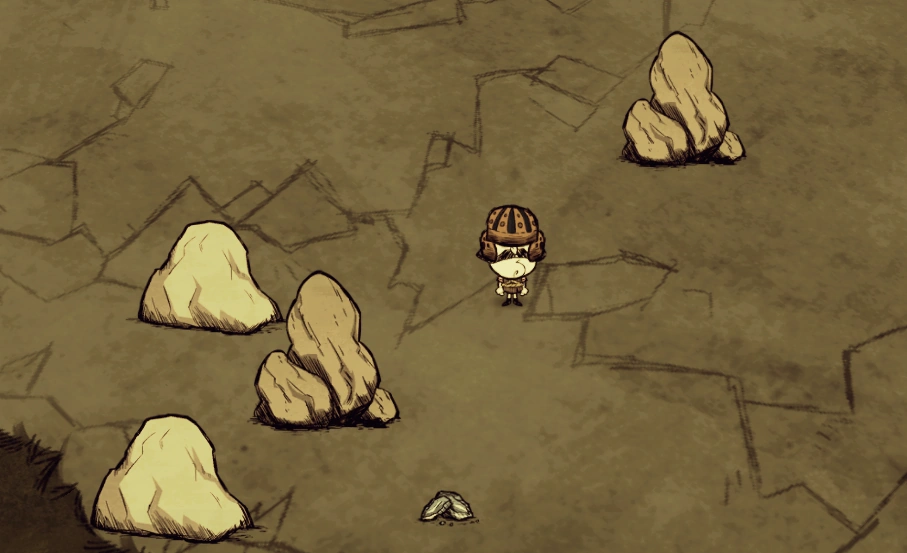
In order to craft various second-tier items such as a Fire Pit, a Science Machine, and an Alchemy Engine, you must locate an area with an ample supply of Boulders and Gold Veins, which give you both Rocks and Gold Nuggets. Beware of Tallbirds, which typically live in this environment. If you get too close to them they will proceed to chase you for a few screens and try to kill you, but your character can usually outrun them. Try to avoid their nests. You can harvest their Eggs later once you've honed your skills.
You need a Savanna biome for both Grass Tufts, Rabbits, and, with any luck Beefalo. Rabbits will give you a steady supply of food if you craft Traps using 6 Cut Grass and 2 Twigs (under the Survival Tab) and placing the trap over a Rabbit hole. When resources such as Berries and Carrots become scarce during the Winter, trapping Rabbits will be a guaranteed way to keep your Hunger up. Beefalo usually travel in herds and remain on the Savanna biome. Hunting them would not be advisable at this time, since attacking a Beefalo would trigger the rest of the herd to attack you. Beefalo are useful for their Manure which can be used for fuel. Collecting and using Manure is much more efficient than constantly chopping down Trees.
Map view of a Savanna biome.
A Worm Hole looks like two furry lumps on the ground that opens into a tooth-lined mouth when you go near it. Jumping into it transports you to one other place on the Map. You can always return by jumping into the Worm Hole you exit from. There may be several Worm Holes in the world but you only really need one. Make your base camp near a Worm Hole so you can easily escape from aggressive Mobs, especially Hounds, which I will describe later. When you go through a Wormhole you will lose none of your Inventory, but you will lose Sanity. So you shouldn't jump into a Worm Hole more than 2 times a day at full Sanity and less than that if you're at half Sanity.
A closed Worm Hole.
When you've located these 3 essential elements you can make your base camp. Now, if you have not located all 3 of these elements within 3-5 days, then make your base camp anyway. Preferably your base camp will be beside a Worm Hole for easy escape and travel, and a short distance from a Rockyland biome and a Savanna biome. Construct a Fire Pit with 2 Logs and 12 Rocks. Unlike a Campfire, this Fire Pit only needs to be crafted once and remains in the world after its fire goes out. All you have to do is throw in more fuel when Night comes to stoke a fire.
"I made my base camp. What now?"[]
Start collecting resources! Tasks to complete before Winter sets in:
"Sleeping" Mushroom.
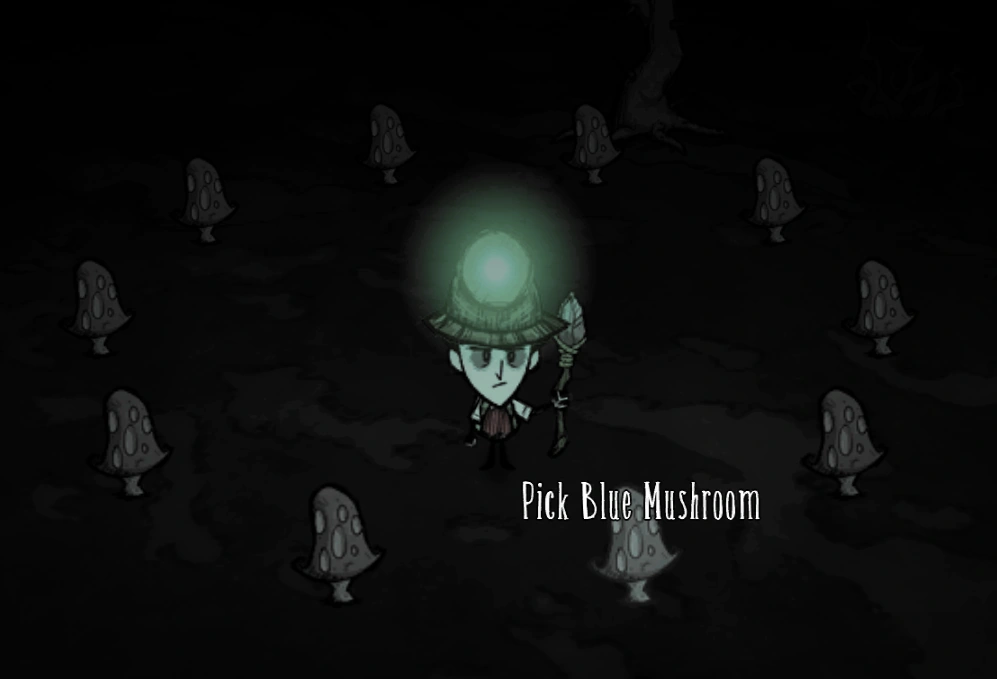
You'll especially want to stockpile Cut Grass, Twigs, Logs, Manure, Blue Mushrooms, Petals, and Rocks. Twigs and Cut Grass are needed to construct traps, which you will need a lot of through the Winter. Blue Mushrooms appear as nubs in the ground during the Day and only sprout up at Night. Locate as many Blue Mushrooms as you can and
Blue Mushrooms at Night.
wait for Night to gather them via torchlight. Blue Mushrooms are great for restoring Health and Hunger in case of emergencies. Picking Flowers boosts your Sanity and if you collect 12 Petals you can craft a Garland that your character can wear to continually boost their Sanity. Avoid picking Evil Flowers as they will drain your Sanity.
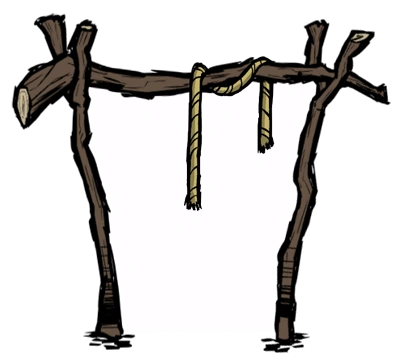
Make a Drying Rack (or a few) so you can survive off of Sanity-boosting Jerky throughout the Winter.
Make a Thermal Stone. It's an item you can carry around with you to keep you warm in the Winter. It must be continually warmed near a fire and will provide heat as you travel in Winter. Be warned, though: if you let the Thermal Stone get too cold (indicated by its white coloring), it could freeze you to death.
Dangers[]
There are some common dangers you should know about before playing:
A Hound.
Hounds. Hounds spawn every 3-13 days in groups of 2-3. Your character will provide you with a verbal warning at least 3 times before the Hounds arrive. The best chance you have for avoiding Hounds is to go through a Worm Hole, which your camp should be made close to. If you happen to be caught in a situation where you don't have access to a Worm Hole, try leading the Hounds into other Mobs that may attack them, such as Spiders, Pigs, and Beefalo. If you are caught out away from your camp when Night is falling and the Hounds arrive, stock up on Torches so you can run while still having light.
Tallbirds. Tallbirds live in Rockyland, usually in multiples. They have nests that hold an Egg that you can steal if
A Tallbird.
you lure the Tallbird away long enough to grab it. The Tallbird will then chase you for a few screens before giving up and returning to its nest. Tallbirds will stick to Rockyland and roam around. Once you get too close, they will squawk and start to chase you. Again, you only need to run a few screens before it stops.
Marsh biome. This isn't an individual aggressive mob, but I would advise initially avoiding this biome as a lot of aggressive mobs live there such as Merms, Mosquitoes, and Tentacles (which may grab you and kill you as soon as you set foot in the Marsh).
Spiders. They hang around large webbed nests with an egg in the middle and only attack you if you go too near. However, they will roam further from their nests during the Night, so making your camp near one wouldn't be wise. When they spot you, they'll chase you for a few screens before giving up and going back to their nests.
Frogs. Frogs live near Ponds. Get too close to one and it will give chase for a few screens. If it hits you, you take damage and the first item in your Inventory will be knocked to the ground (if your items are stacked, only one of that item will fall out). If you attack a Frog, that Frog and any other Frog in the area will respond aggressively and chase you. At Night they return to their ponds and sleep. I would advise new players to stay away from Frogs, but if you manage to lure a Frog chasing you into a Trap, you'll be able to obtain edible Frog Legs.
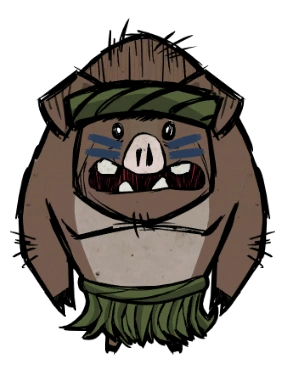
A Guardian Pig.
Bees and Killer Bees. Worker Bees (which appear yellow) roam close to their hives usually in a place with a lot of flowers. They are harmless unless you attack them or their hives. Killer Bees (which appear red) will attack you whenever you get too close, although these Bees are considerably rarer than worker Bees.
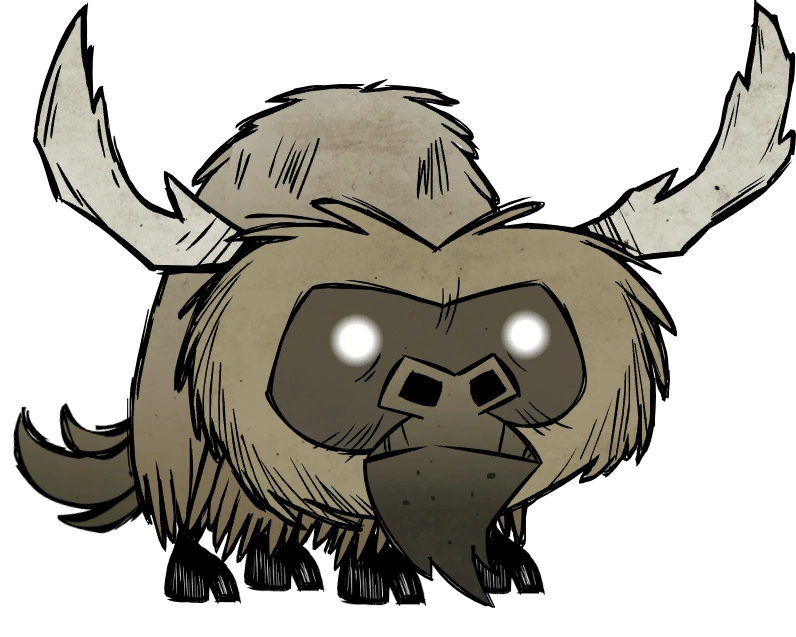
A Beefalo.
Guardian Pigs. These Pigs are darker than regular Pigs and wear grass headbands and skirts. They spawn near Pig Torches. If a Pig King is present, they will not attack you. If there is no Pig King, they will chase you for a certain distance away from the torches.
Shadow Creatures. Shadow Creatures appear when your Sanity drops below 82.5%, but they will not harm you unless your Sanity goes below 15%. They will, however, drain your Sanity the more they appear.
The Night Hand. At random a giant, shadowy hand will appear out of the darkness at Night, accompanied by the sound of an eerie music box, and try to extinguish your fire. Up to 3 of these hands can appear at once. Standing on them will force them to retreat and chasing them all the way to their wrists will get rid of them completely. It usually takes at least 3 hands to snuff out a fully stoked fire. The Night Hands disappear once it becomes daytime.
The Crawling Horror Shadow Creature.
MacTusk and Wee MacTusk. These two walruses and the Blue Hounds that accompany them appear in Winter at their campsites. During Summer, their campsites are abandoned and can be identified as large dark spots on the ground. DO NOT make your camp near these campsites.
There are other mobs, both aggressive and neutral, that I haven't listed, but for the most part these aggressive mobs are the ones you should be encountering the most.
Don't Starve: Shipwrecked[]
Shipwrecked pretty much has the same mechanics as the base game. However, the seasons are different. The seasons are now:
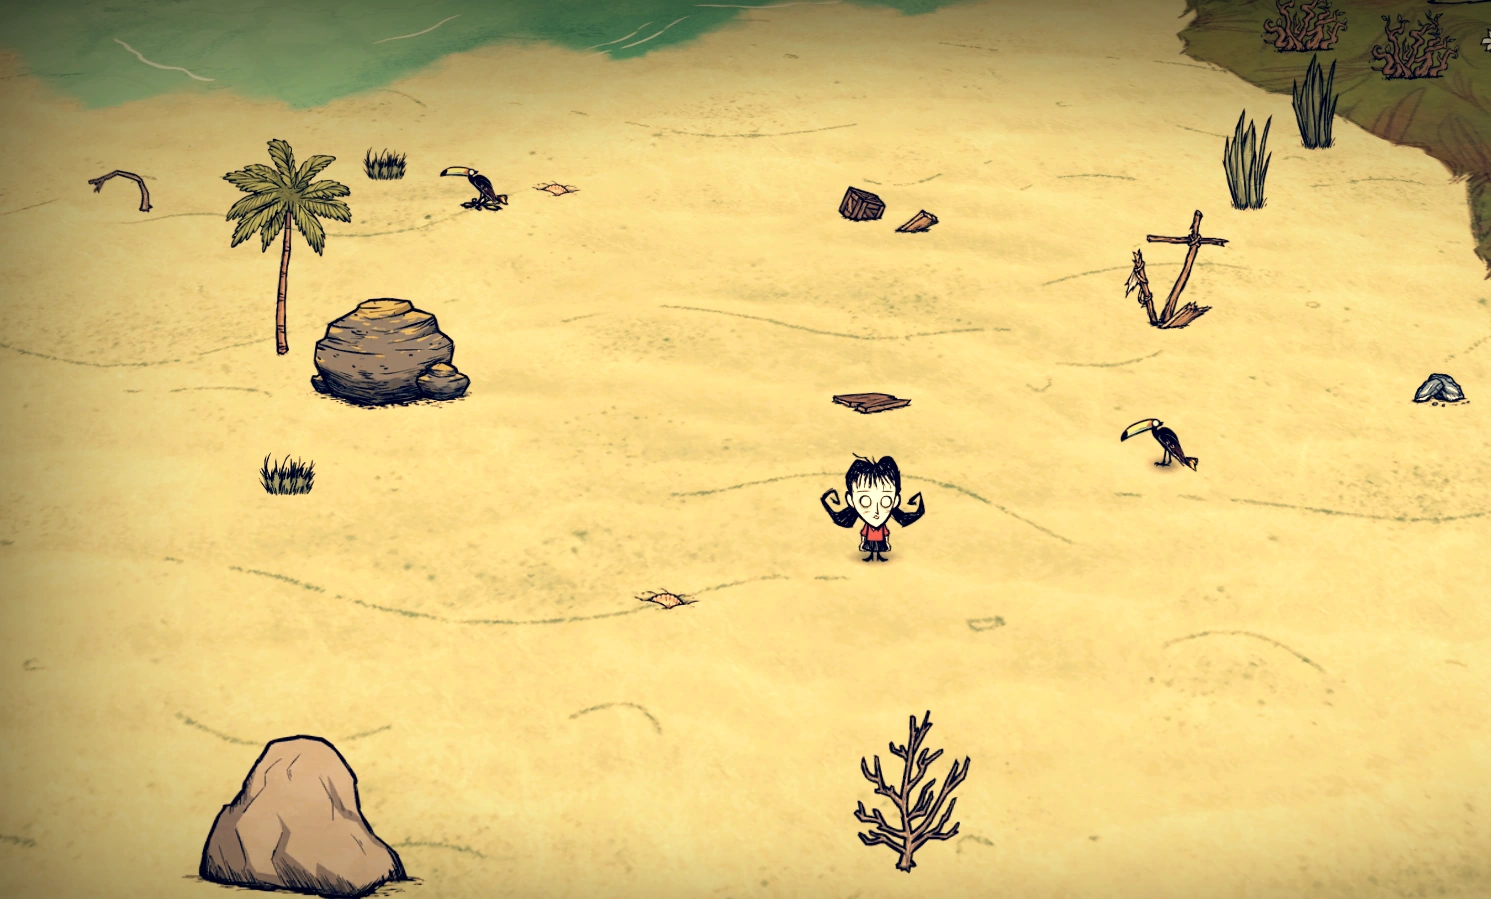
Mild Season: you will always start out in this season. This is by far the safest season in the game, perfect for exploring and gathering items needed for coming seasons. The seas are calm and items are abundant. Days are long and Nights are short. This lasts 20 days.
Hurricane Season. this season can take inexperienced players by surprise. It rains almost every day and Lightning becomes a danger. Strong winds and rain can quickly put out fires at Night and drain your Sanity. Hail is also a common occurrence. On the bright side, Lightning keeps Charlie away. Big waves become more and more frequent until they are the only type of Waves. Shoals are dispersed and become an unreliable resource. Days are short and Nights are long. This lasts 16 days.
Example of a starter beach in the Mild Season.
Monsoon Season. rain causes flooding, which makes islands smaller and could snuff out fires or flood camps if they are built too close to the shore. Rain gradually increases as the season goes on. There is wind, but it is not as strong as in Hurricane Season. Additionally, there is Lightning, but it does not strike as often as in Hurricane Season. Because of the rain, Mushrooms grow back quickly. Puddles will form on the land and grow bigger the more it rains. Poison Mosquitoes will spawn in flooded areas. Crabbit holes close within the first few days and they are no longer a reliable food source. Dusk is longer in this season. It lasts 21 days.
Dry Season: temperatures soon rise to threaten overheating your character. Volcanoes become active and start raining down Dragoon Eggs, which will spawn into aggressive Mobs. Bamboo and Limpets may dry up. The seas are calm. Day is long and Nights are short. It lasts 16 days.
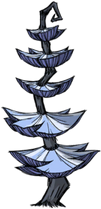
On nights when there is a Full Moon, it will be bright enough so you don't have to make a fire. They occur every 9-10 days. At this time, Mushrooms become Mushtrees.
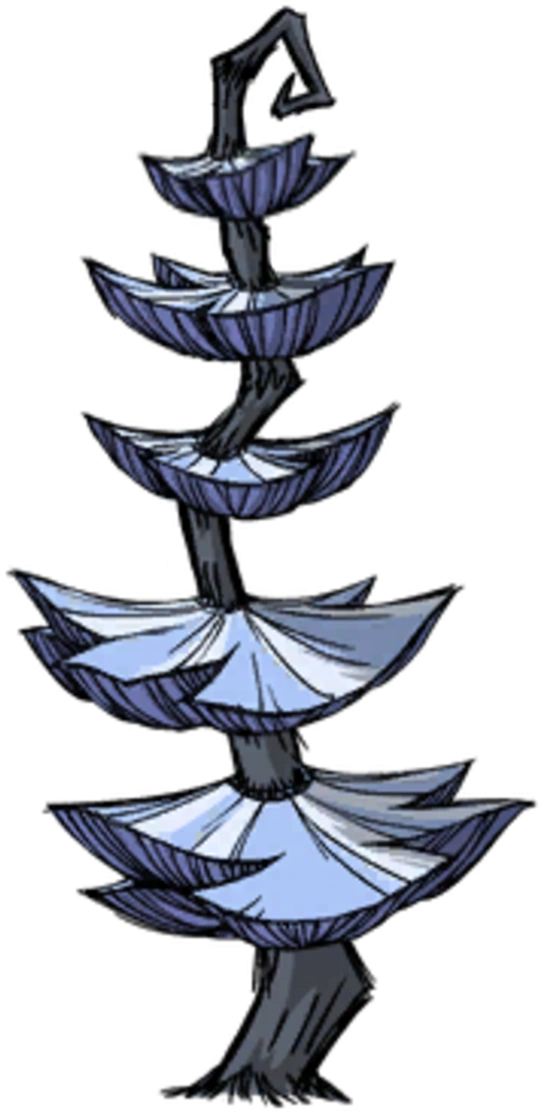
Blue Mushtree.
There are no Worm Holes.
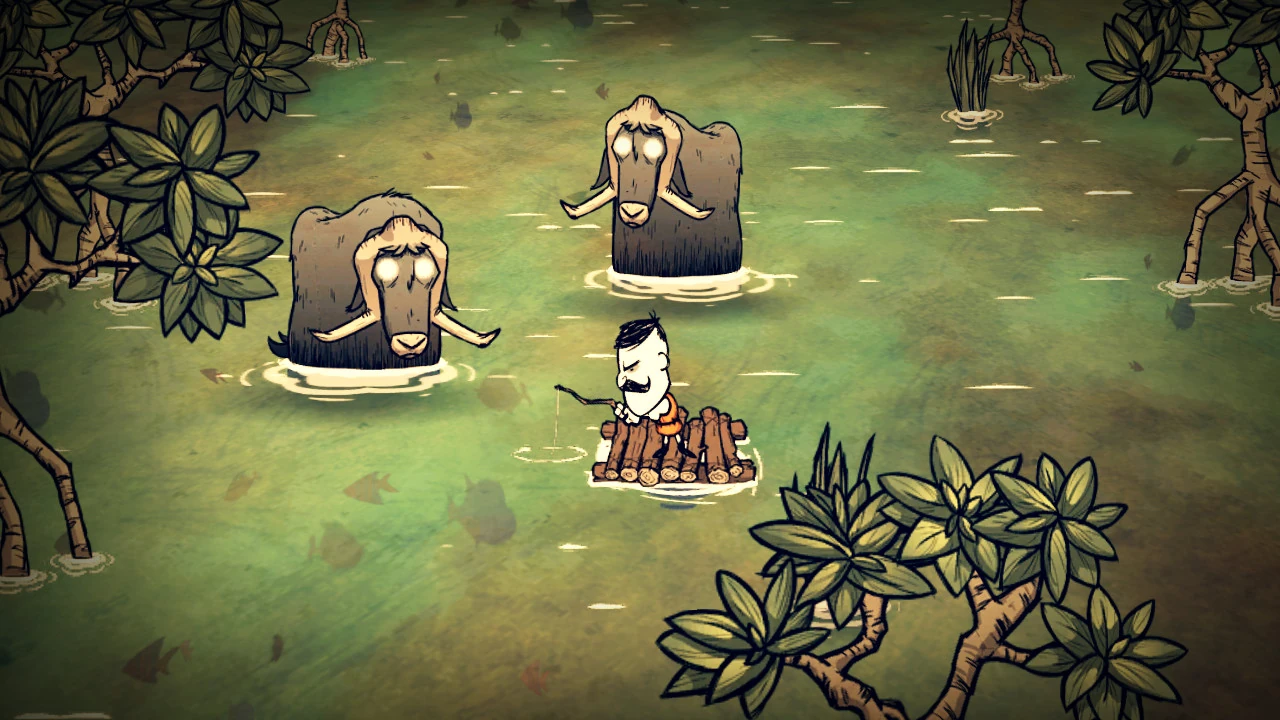
Beefalo turn into Water Beefalo. They spawn in Mangroves, shallow areas at the edge of islands.
Crocodogs serve as Hound equivalents and behave differently.
Wetness can drain your Sanity and deplete the effectiveness of inventory items.
You can get poisoned, which will gradually drain your Health and Sanity until you take Anti Venom.
"I've started a new game. Now what?"[]
In the DLC Shipwrecked, you start off on an island in the middle of the ocean. The first thing you should do is what you would usually do in the base game: gather materials to craft an ax. The materials are the same and you will typically spawn on an island with ample Flint and Trees around with which to make your ax. After you get an ax, chop down some Trees and gather Logs. Pick up Palm Leaves and Coconuts that fall from the trees you chop. You can use Palm Leaves to create a Thatch Pack to store more stuff and you can eat Coconuts once you gather the materials to craft a Machete. Make sure you have enough Cut Grass and Logs to make a Campfire. This will always be your number one priority in every game. Collect Limpets from Limpet Rocks for easy food.
"I survived my first night. Now what?"[]
Now you want to build a Raft. Logs will do for now. Gather what you can from the island you're currently marooned on and set off out to sea. I try exploring the "shallow" areas around the island first, indicated by a bright blue color. I follow the shallow areas until I'm sure there are no other islands close by, then I try to brave the deeper water. The deeper water will be a dark blue color and contain moving Waves. Avoid these Waves hitting you (however, if you "ride them"
Wetness icon showing wetness rising.
from behind they will give you a boost without penalty), or you and your items will become waterlogged and your Raft will lose durability faster. When you become waterlogged, an icon will appear on the right hand side of the screen with a raindrop, which will slowly fill up with how waterlogged you are. Keep in mind that the more waterlogged you become, the more your Sanity will drop. This feature will become important come Hurricane Season when it rains almost constantly.
"I've explored. Now what?"[]
You should make a base camp. I prefer to make a base camp on an island with lots of Trees and food resources, close enough to other islands with Boulders and Gold Veins. It is important that you're close to a Mob such as Water Beefalo, Spiders, Snakes, Wildbore, or Prime Apes, though they don't have to be on the same island, just close enough that you can easily and quickly get to them. This is because Crocodogs arrive at the same time Hounds arrive in the base game. Crocodogs will chase you over land and sea and there is no way to escape them because there are no Worm Holes. You probably shouldn't fight Crocodogs early on in the game, so your only way to escape them is to run through areas containing the aforementioned Mobs. Crocodogs can become extremely distracted by other Mobs and will stop chasing you to fight them. If you're lucky, the Crocodogs will be killed by these mobs and you can collect the spoils. Since Crocodogs may chase you for a long time, make sure you have supplies to build a Torch should Night fall and stock up on food so you don't starve while trying to outrun them.
A Crocodog.
After the Crocodogs attack, you'll want to prepare for the Hurricane Season by:
Crafting a Machete to open Coconuts and cut Bamboo to craft a better Raft.
Crafting a Palm Leaf Hut near your base camp and in places you frequently visit to keep dry if it rains.
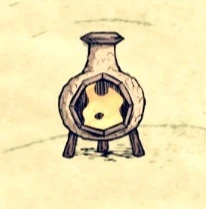
Crafting a Chiminea, which will preserve your Campfire from strong winds and rain during Hurricane Season.
A Chiminea.
Collecting lots of fuel and crafting supplies such as Cut Grass, Bamboo, Logs, Rocks, and, if you can, Water Beefalo Manure so you won't have to travel so far and so frequently during the rainy Hurricane Season.
Collecting supplies to make clothing such as Straw Hats or Snakeskin Hats to help keep dry. This is less of an urgent task if you have enough Palm Leaf Huts.
Locate Blue Mushrooms so you can pick them if you need to up your Health in an emergency.
Collect materials to craft Anti Venom to counter the Poison Mosquitoes in Monsoon Season. It may seem a bit early to do this, but now is the safest time to collect Venom Glands from Poison Snakes, Coral from Coral Reefs, and Seaweed.
Other important tips[]
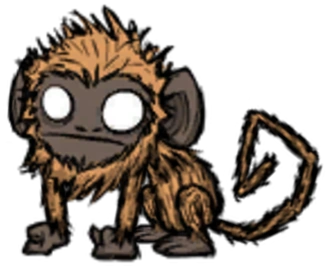
Prime Apes live in small groups close to a Prime Ape Hut. They scavenge everything around them, including valuable items, like Gold. If you go near them, they will follow you for a while and pick up everything you may
Prime Ape.
drop or intend to pick up yourself, which makes them a bit annoying. You could attack them, but they fight in groups. However, if you are in need of Manure, fighting them will cause them to throw Manure at you. If you befriend them by offering them Bananas, they will toss items they gather to you. They can also fight off Crocodogs and Snakes. If you happen to have Bananas in your inventory, Prime Apes will follow you around for longer than usual. Prime Apes will also harvest Crops you plant in your Garden to take for themselves, so making a Farm close by is not advisable. Currently, Prime Apes cannot open Chests or other storage containers. By destroying their hut, you eliminate the Prime Ape colony.
Poison Snake.
There are two types of Snakes, a regular Snake which is red and a Poison Snake, which is yellow. They live in Jungle areas and come out to roam at Night, so you should avoid Jungle areas after dark. During the day, they can appear after you cut down a Jungle Tree or disturb a Spiky Bush that shakes and hisses occasionally. They will chase you for a time, but not for long, before they give up and fall asleep. You can distract them from chasing you by leading them to other aggressive Mobs they can fight. Then you can stick around to pick up the valuable Snakeskins and Venom Glands (only Poison Snakes) they drop. Of course, you can also kill them yourself. But beware of Poison Snakes, as with one bite they will poison you, which will drain your Health and Sanity graduallt unless you take Anti Venom.
Good Luck![]
You're now ready to start a game in Don't Starve and Don't Starve: Shipwrecked. I hope this helps. Happy playing!


